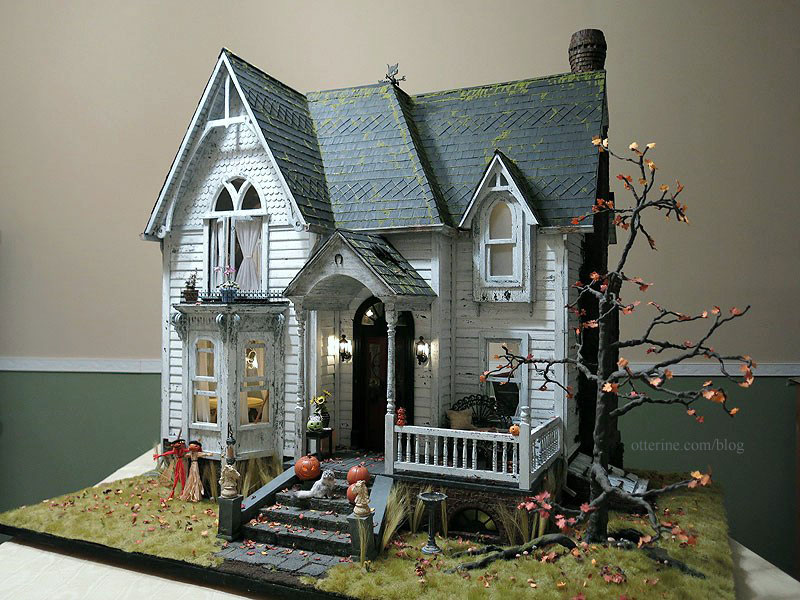
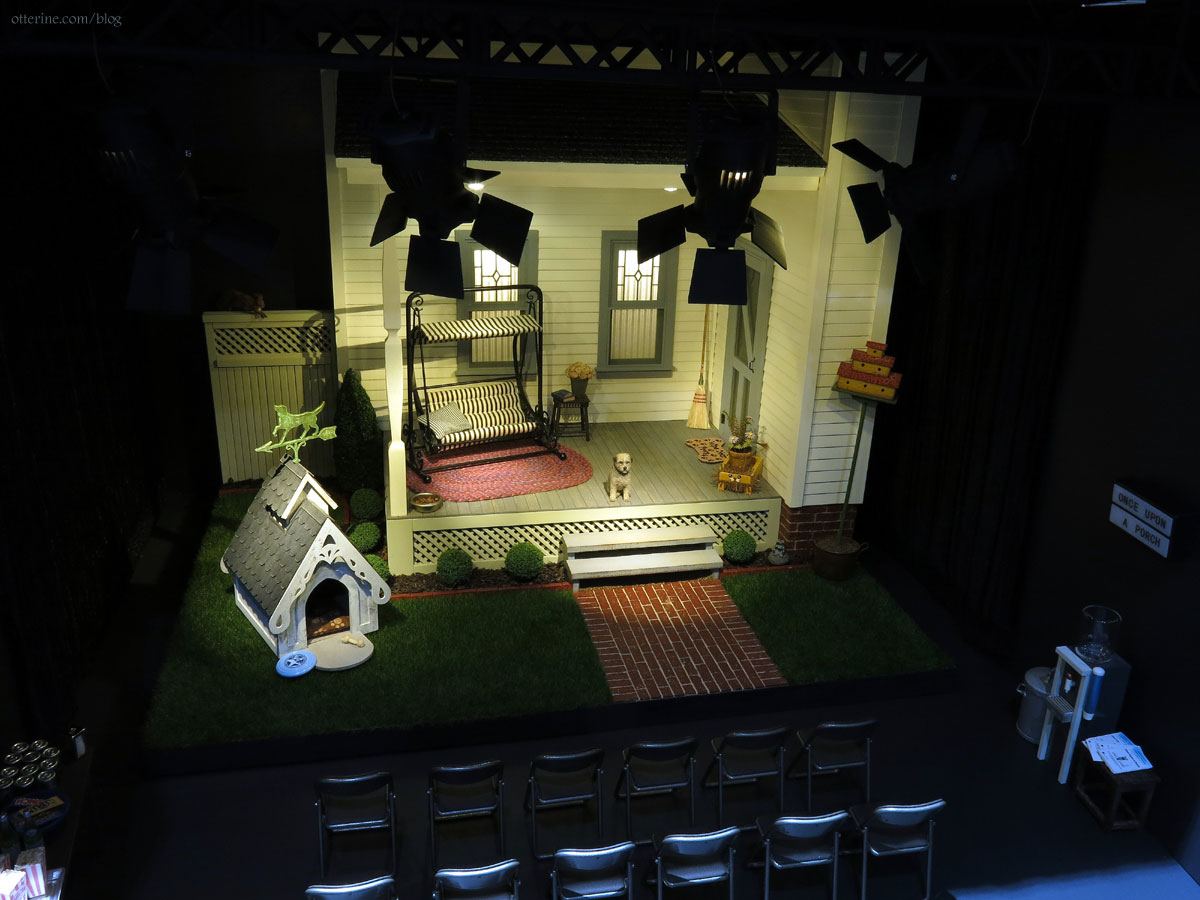
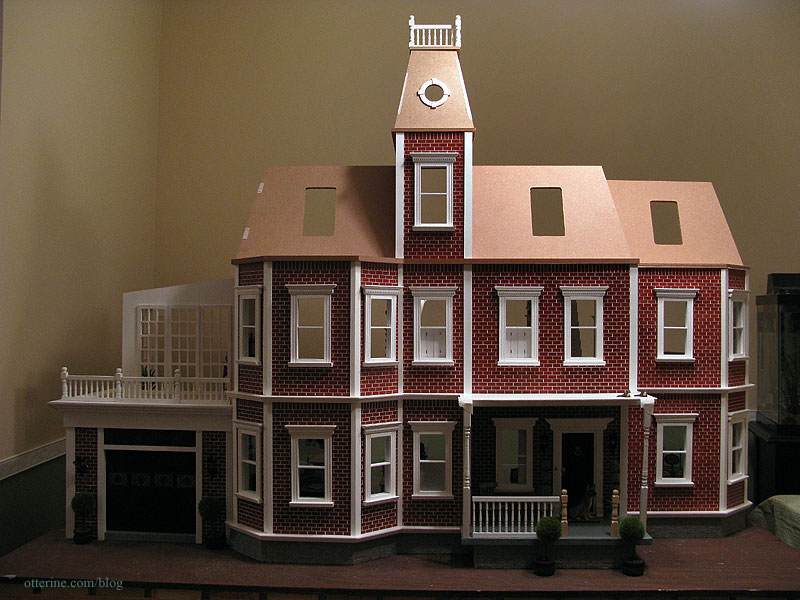
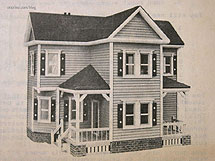
Category: "The Newport"

 Find me on Instagram
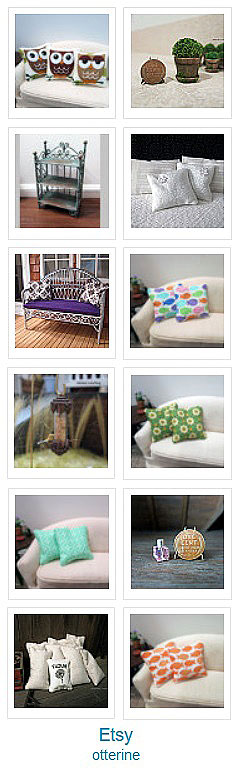


Study progress, part 2
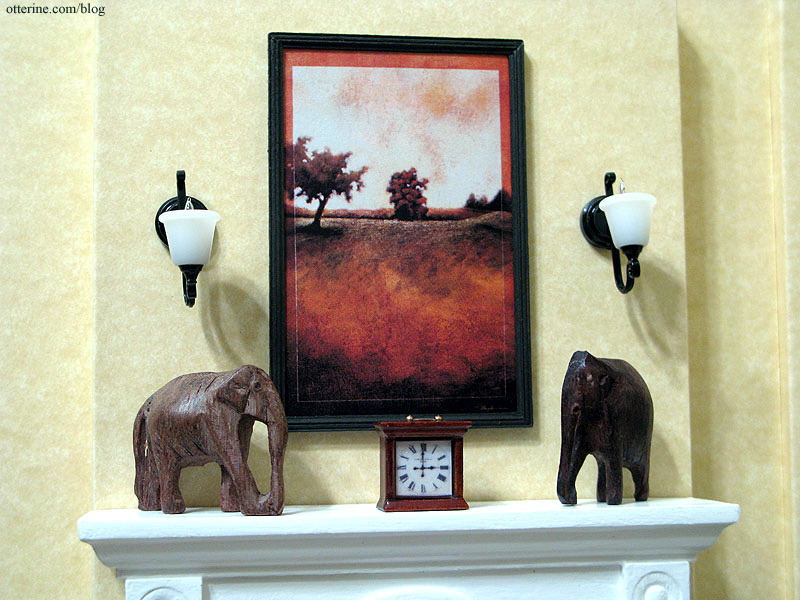
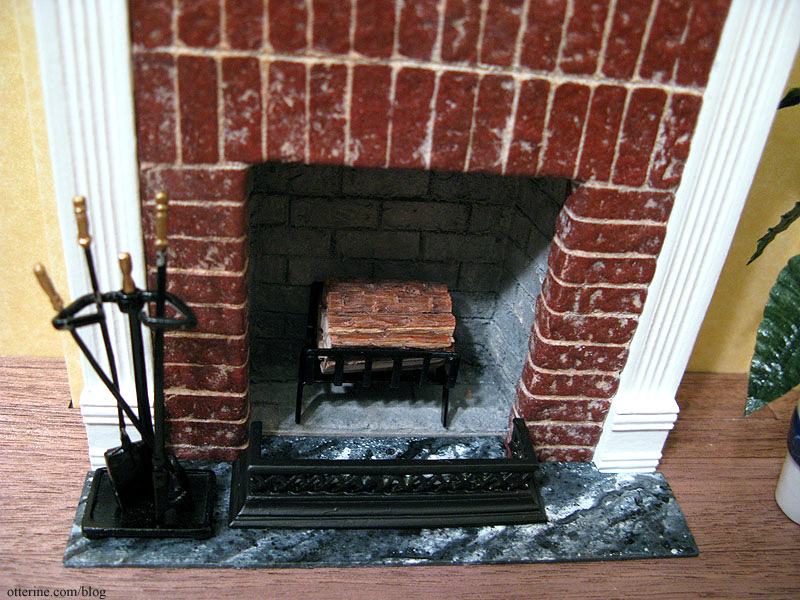
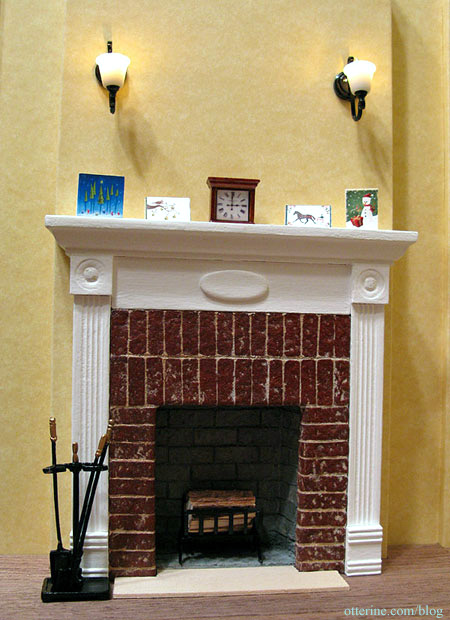
The painting above the fireplace is a cutout from a catalog I had years ago. Unfortunately, when I ripped it out, I didn't get the full name of the artist, only the first name of Leigh. From what text is there, I think the title of the work is called Jeweled Cove (or at least begins with those words), though I haven't been able to turn up anything on the internet about it.
I glued the paper image to a thin piece of balsa then cut and painted a wood frame to surround it. I bought the clock on eBay, and the elephants I've had for over twenty years.
click image to enlarge
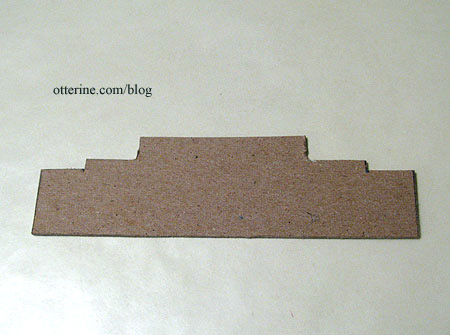
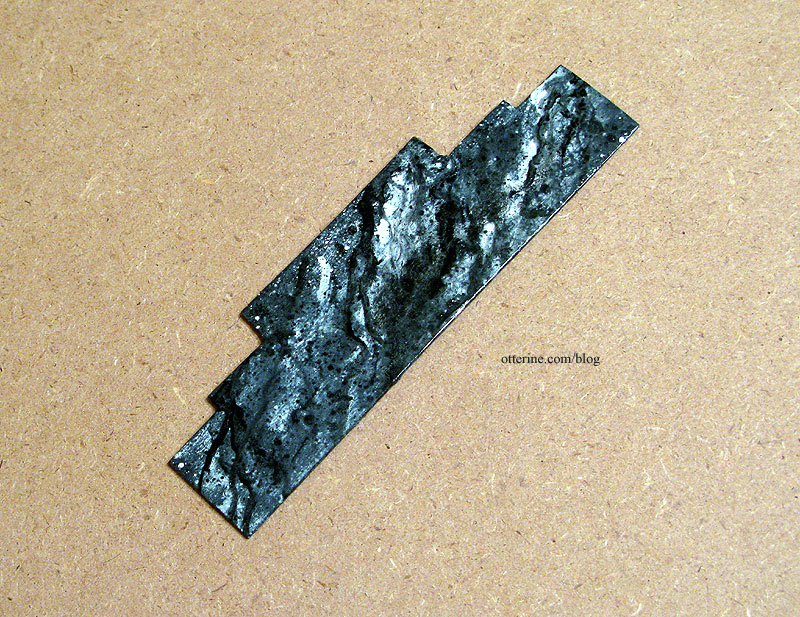
To finish off the fireplace, I made a marble-look hearth out of a piece of cardboard. I used the technique shown in the DVD by Master Miniaturists called Faux Finishes.
The cut cardboard before....
And, after....
click image to enlarge
The fireplace fence is by Town Square Miniatures and was originally brass that I painted with acrylic paint to make it look like wrought iron.
click image to enlarge
Study progress
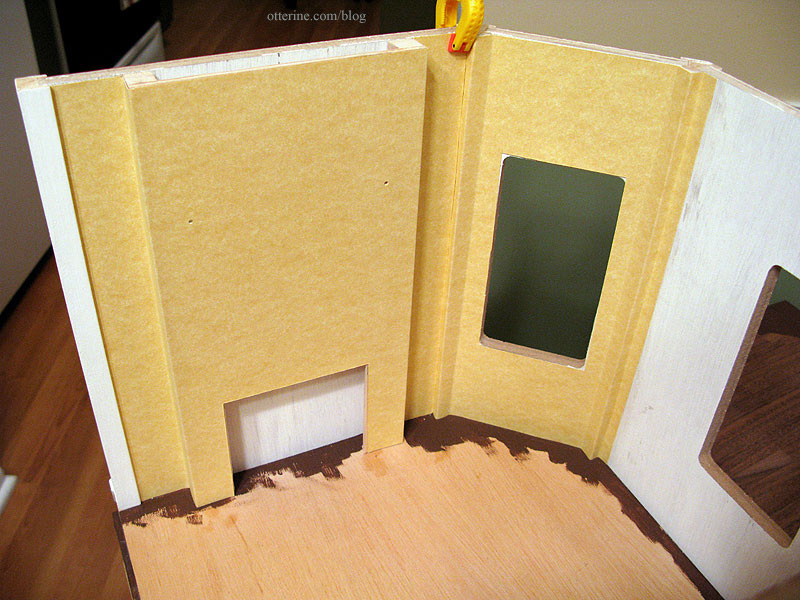
Since the flooring I cut for the study had a few minor gaps around the edges and some piecing by the fireplace, I brushed on a little brown paint so the subfloor wouldn't be so obvious.

I drilled holes in the chimney breast for the sconces and then glued the assembly to the wall. I used Yes! paste to attach the wallpaper (scrapbook paper by The Paper Company called Parchment Tan). There are three separate pieces. The first one I glued in place was on the angled wall with the window. I cut it with roughly 1/4" edges on either side to go under the other two pieces to prevent gaps along the seams.
Note: I no longer recommend Yes paste - I use Wallpaper Mucilage instead. Yes paste has problems with longevity.
click image to enlarge
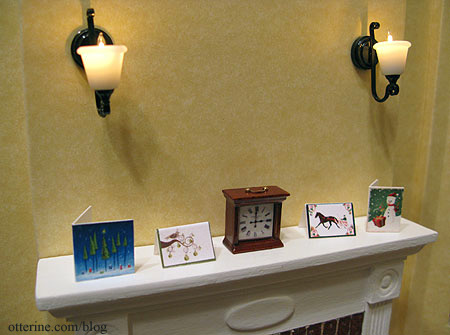
Once the wallpaper was done, I ran the wires for the sconces through the chimney breast. I plan to pull the wires up through the ceiling and run them along the floor of the second story to the power strip.

I think I am getting the hang of electrification! :D
Close-up of the lights...
Study flooring and wallpaper
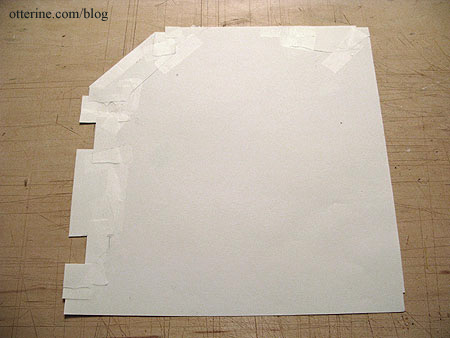
The first step of installing the flooring was to make a template of the room. I cut a rough outline and then taped bits of paper to cover any open areas. This method makes up for any warping there may be along the edges of the room.
I used dark wood flooring by Handley House; it comes on a paper backing so you can cut a single piece of flooring using a template instead of laying the wood down strip by strip. I did have to piece the wood a bit by the fireplace wall since the sheet was not wide enough to cover the entire width of the room.
The flooring isn't permanently affixed yet. There are a few gaps from the wall, but I think it turned out well for my first attempt at wood flooring. I plan to paint the edges where the base floor will show to make the gaps less obvious, and there will be a baseboard around the perimeter as well.
click image to enlarge
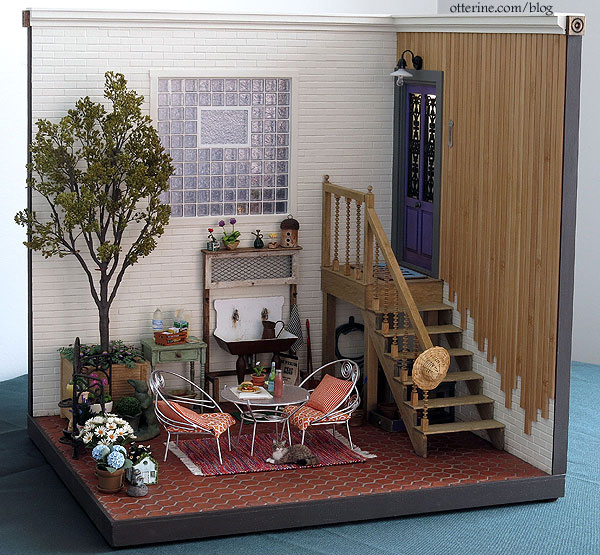
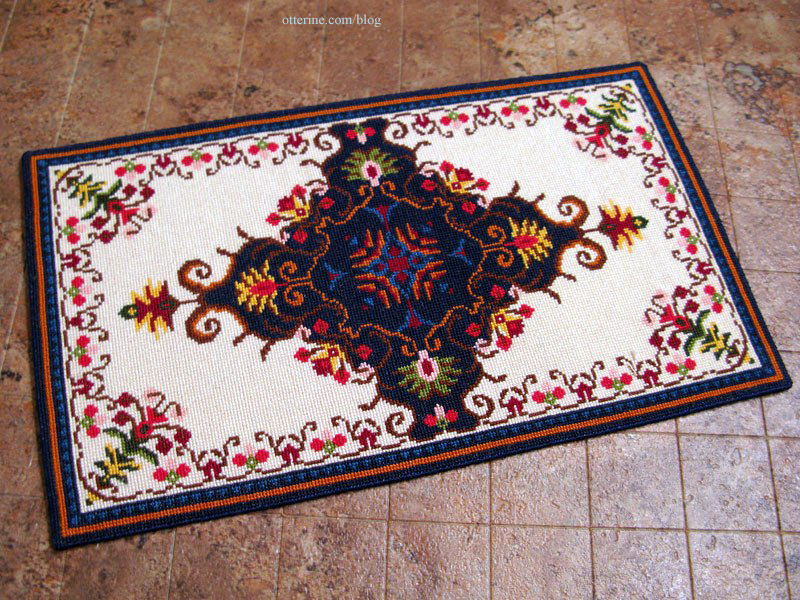
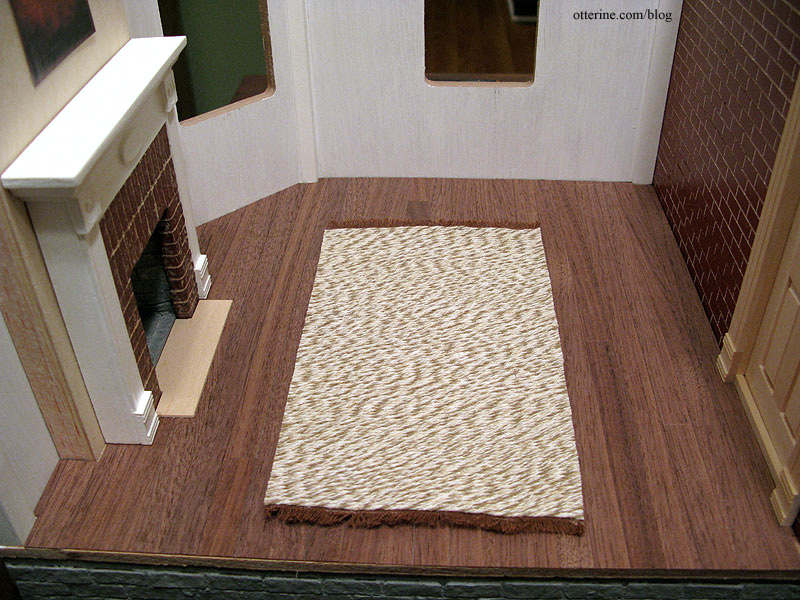
The wallpaper is scrapbook paper by The Paper Company appropriately called Parchment Tan; it is also not permanently affixed yet. The furniture is by Bespaq, bought on eBay; the plant came from Hobby Builders Supply. I am not sure if these pieces will stay here since I bought them for a different room, but they are closer to what I have in mind than the red velvet ones I had been using during the planning phase. I made the rug and fireplace.

click image to enlarge