
 Find me on Instagram
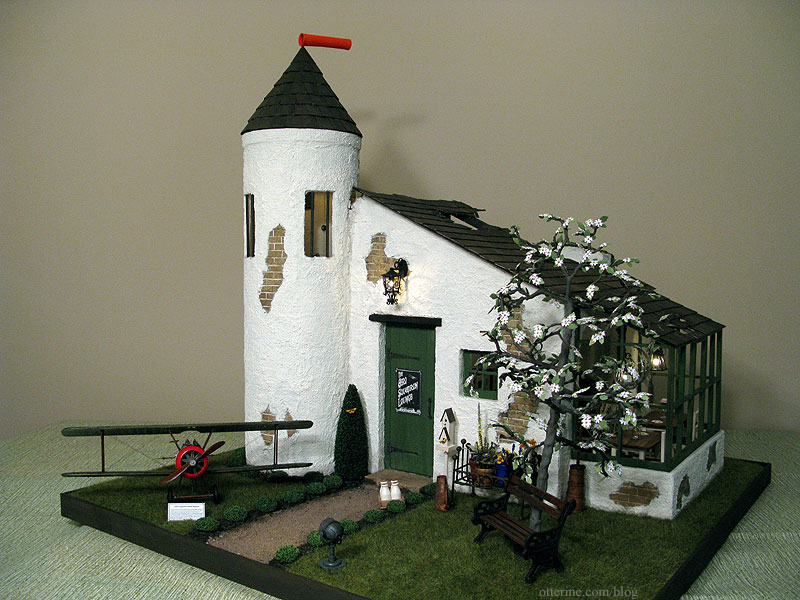

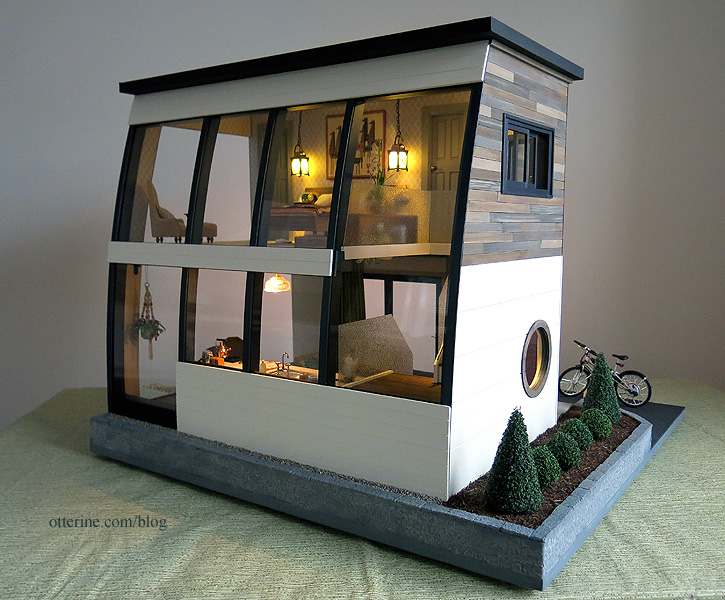


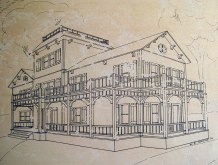
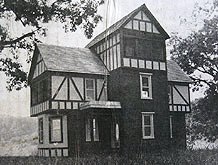

Conservatory planning
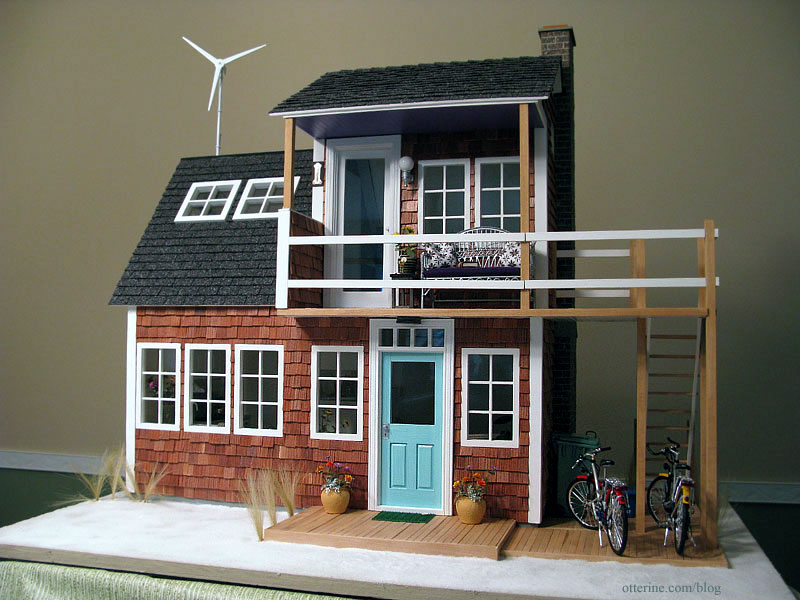
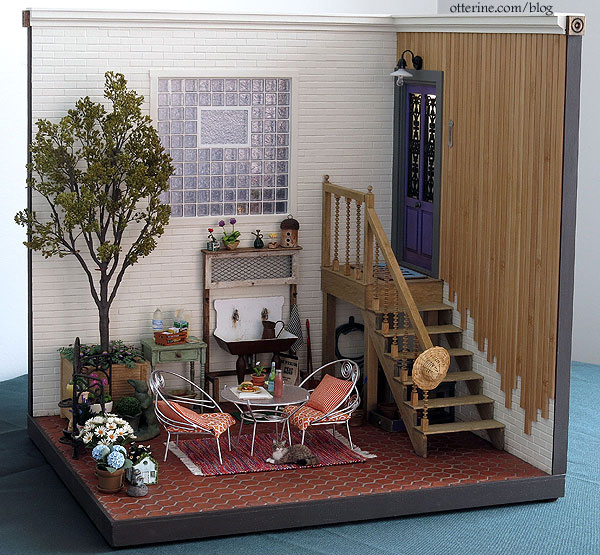
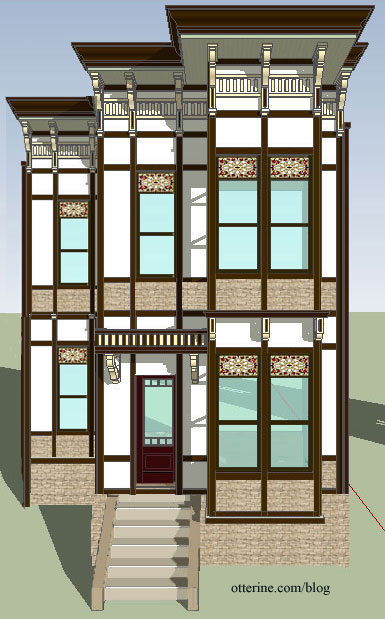
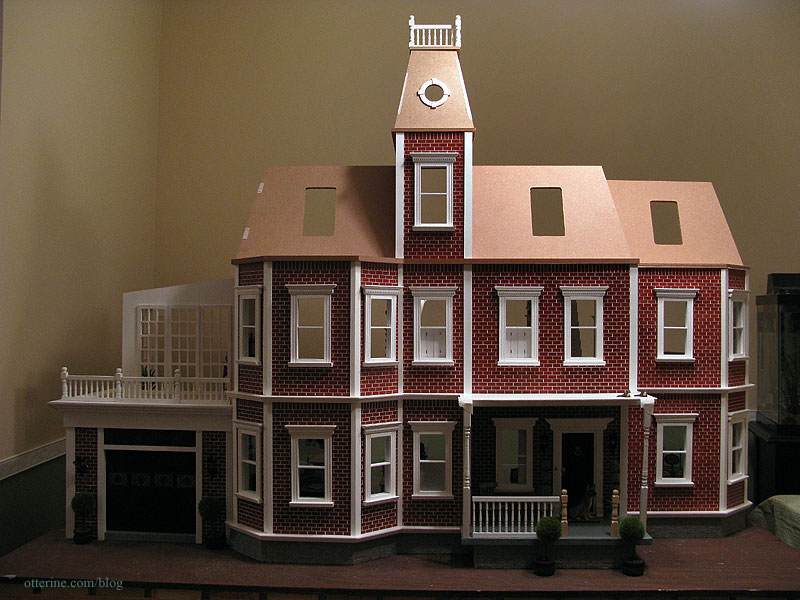
The conservatory sits above the garage and is accessible from the master bedroom. The double French doors came from the Foxhall Conservatory kit used to create the garage.
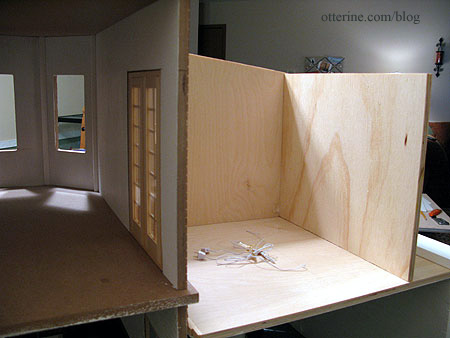
The stairs from the master bedroom are the original front door steps for the Newport kit. I will leave the brick wall exposed, but I haven't decided on an exterior or interior finish for the conservatory walls. The windows will obviously take up most of the surface area.
Before cutting the French door and window openings in the new conservatory walls, I did a little planning to figure out how the furniture would fit best. The plaid sofa and chair shown below now reside in the study, but they're about the same size as what I have planned for this space.
click image to enlarge
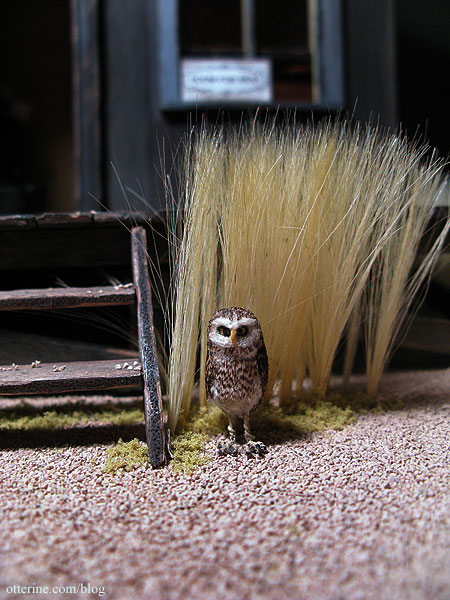
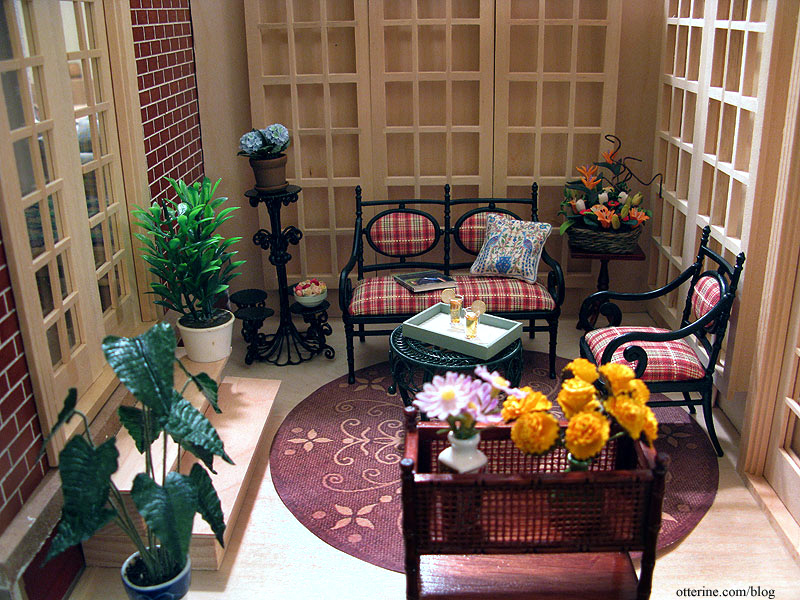
I made the elephant ear plant from floral tape and wire. The rattan planter is by Concord Miniatures.
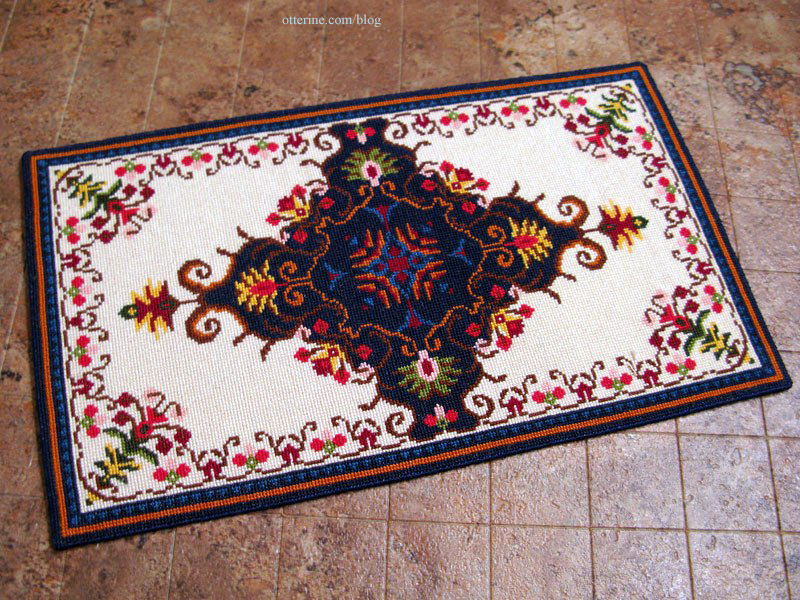
I'll have more plants, most of which I plan to make myself, including some hanging plants. It looks a bit crowded from the perspective shown in the photo above, but the room is actually spacious. The rug is a paper printout of the Piazza rug in brown by Dynamic Rugs, but I plan to recreate it in another material besides paper, such as punchneedle or needlepoint.

click image to enlarge
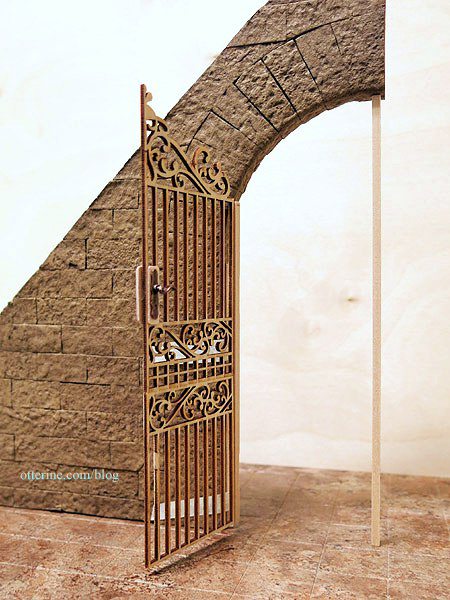
The single French door opens to allow access to the outside of the conservatory where there will be a narrow walkway and room for outdoor plants.
Study progress, part 3
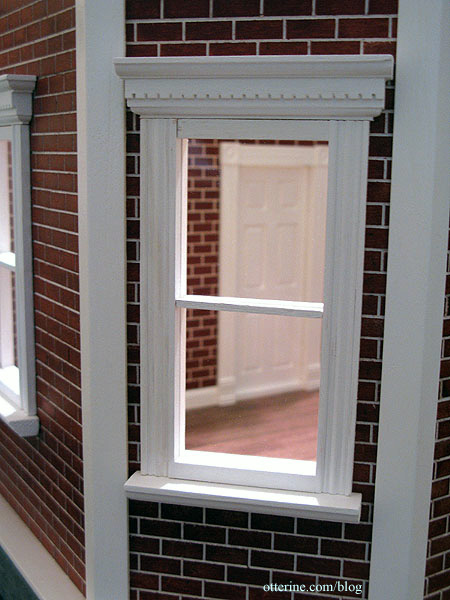
In order to decorate for Christmas, I had to get the study in nearly complete order. I installed the windows with newly cut acrylic inserts to replace the printed ones that came with the kit. I had previously upgraded the windows to include Yorktown pediments by Houseworks on the exterior, but these needed to be cut down for the window located on the angled wall since they were too wide to fit between the connectors. I will have to cut down the pediments on the bay areas of the main house as well for the same reason.
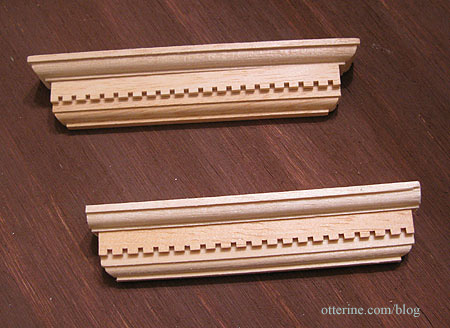
Here's the view on the exterior. Even though the side pediments are cut down, they don't look incomplete. Nothing is glued in place yet, so the gaps and imperfections will be sanded and painted further before I glue them in permanently.
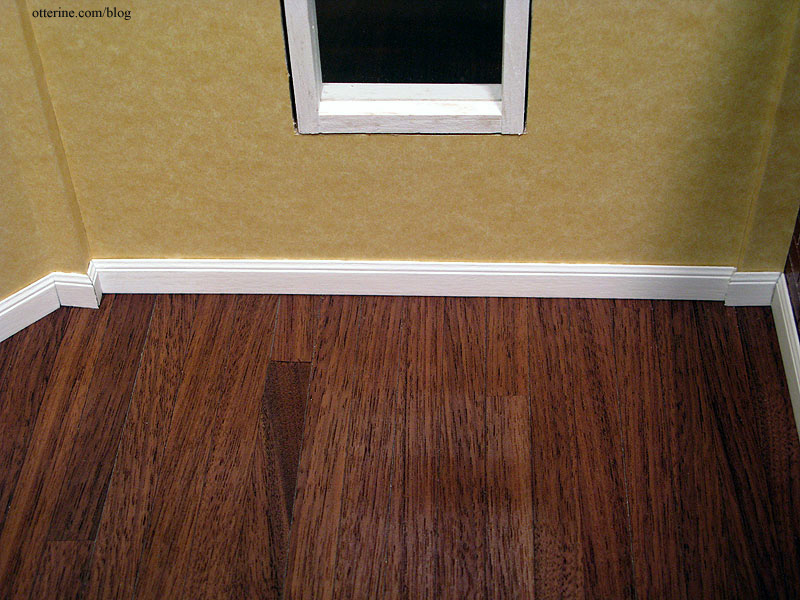
I sprayed the wood flooring with matte sealer (two coats). I like how it warmed up the color and brought out the detail of the wood grain. [UPDATE BELOW]
I used Houseworks baseboards along the perimeter; each board has a groove on the back to hide wires. I think this has been my least favorite part so far. The main problem is cutting around the wall connectors, which results in a lot of little pieces with angles on either end. But, it really adds a lot of realism to the room, so I just keep cutting and cutting and cutting until I get the pieces right.
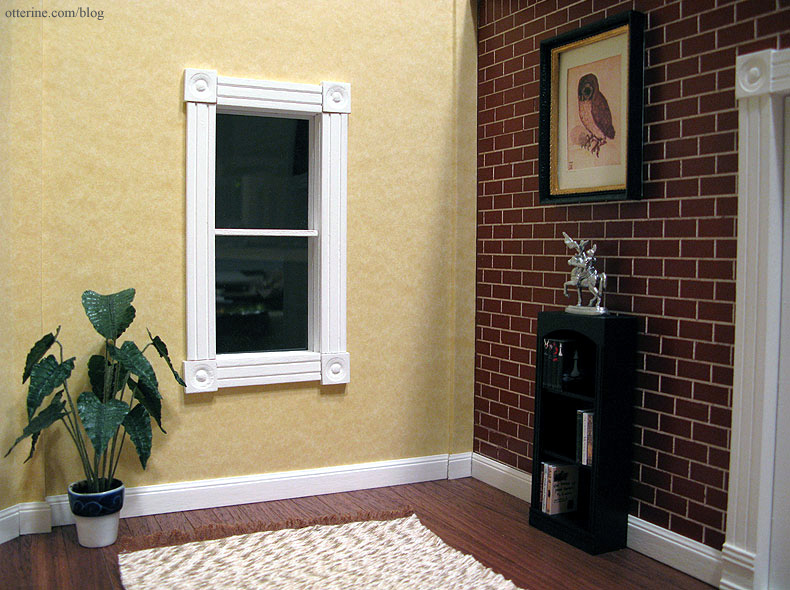
I used Houseworks trims around the interior of the windows to match the Traditional Block & Trim interior door, also by Houseworks. The windows and their related interior trims are not glued in place so I can remove them to continue the build without any worry of damaging them.
Update 01-15-10:
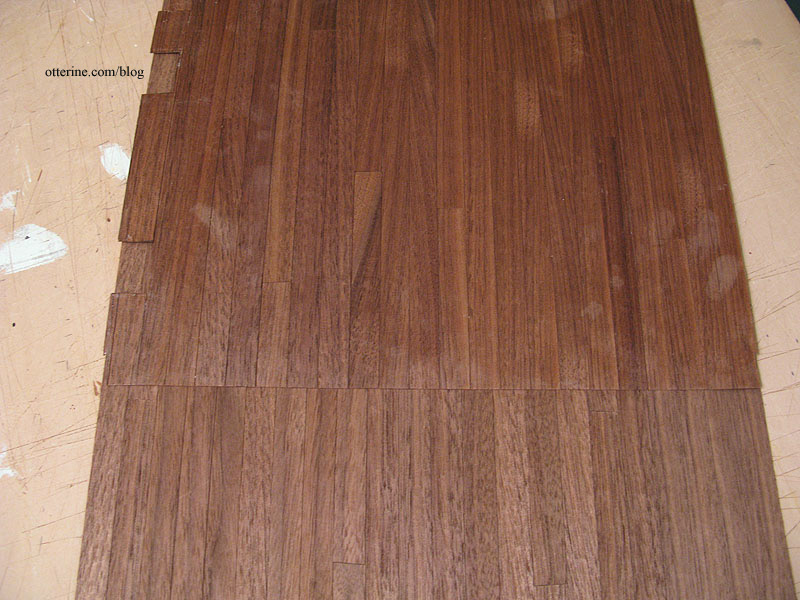
Since this post, the spray sealer has broken down and the finish has become mottled (below the old floor is shown on top of a fresh sheet of flooring). I removed the old flooring and replaced it with a new piece, but I won't be using the same spray sealer again.
Update 02-20-10:
I sprayed the second piece of flooring for the study with Minwax Water-Based Polycrylic protective finish in clear semi-gloss, and the results were perfect. It too warmed up the wood tones and stayed even and smooth after two weeks.
Study progress, part 2
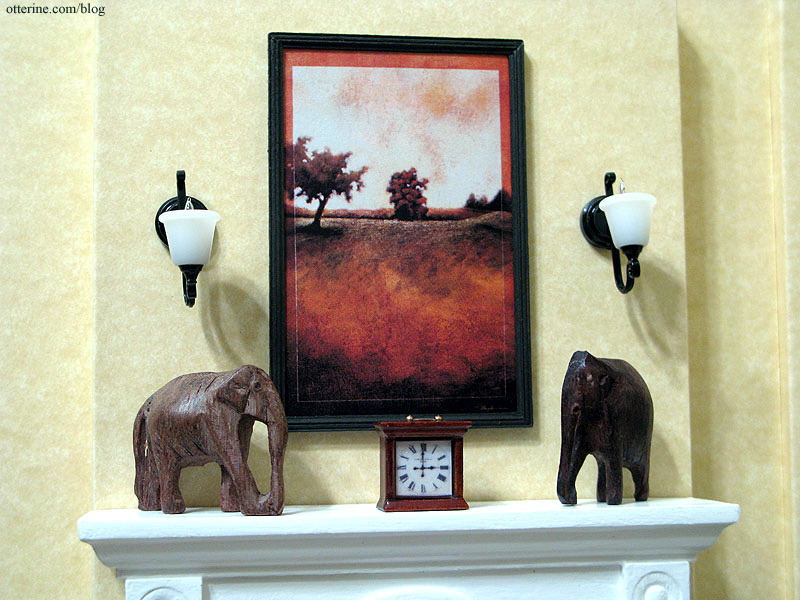
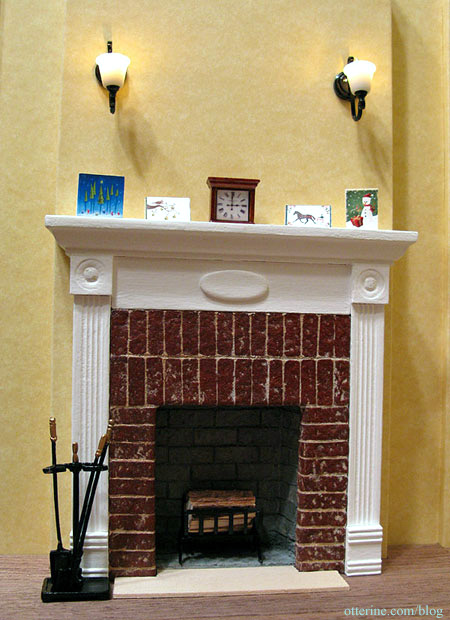
The painting above the fireplace is a cutout from a catalog I had years ago. Unfortunately, when I ripped it out, I didn't get the full name of the artist, only the first name of Leigh. From what text is there, I think the title of the work is called Jeweled Cove (or at least begins with those words), though I haven't been able to turn up anything on the internet about it.
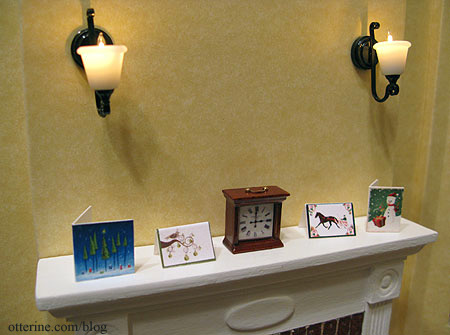
I glued the paper image to a thin piece of balsa then cut and painted a wood frame to surround it. I bought the clock on eBay, and the elephants I've had for over twenty years.
click image to enlarge
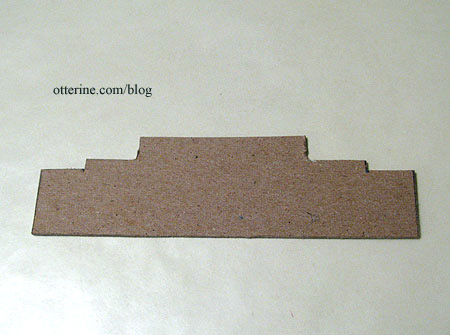
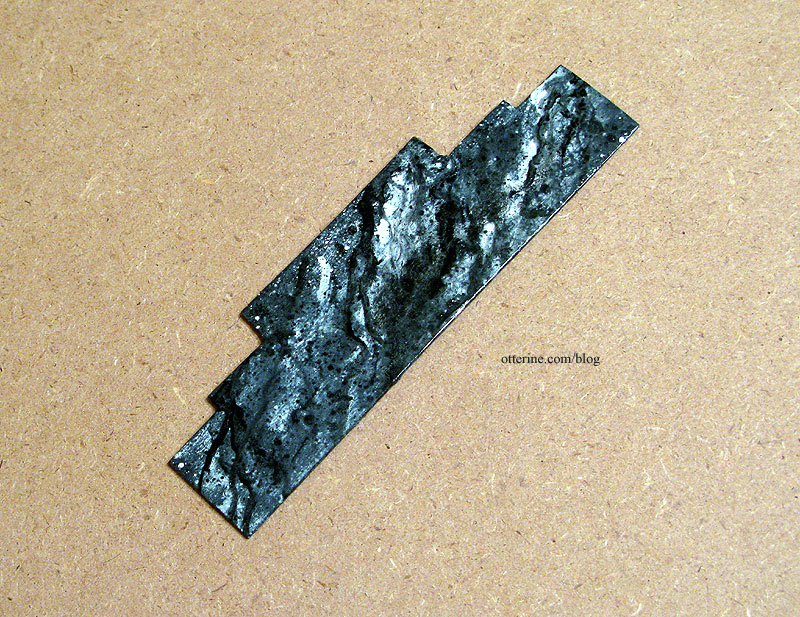
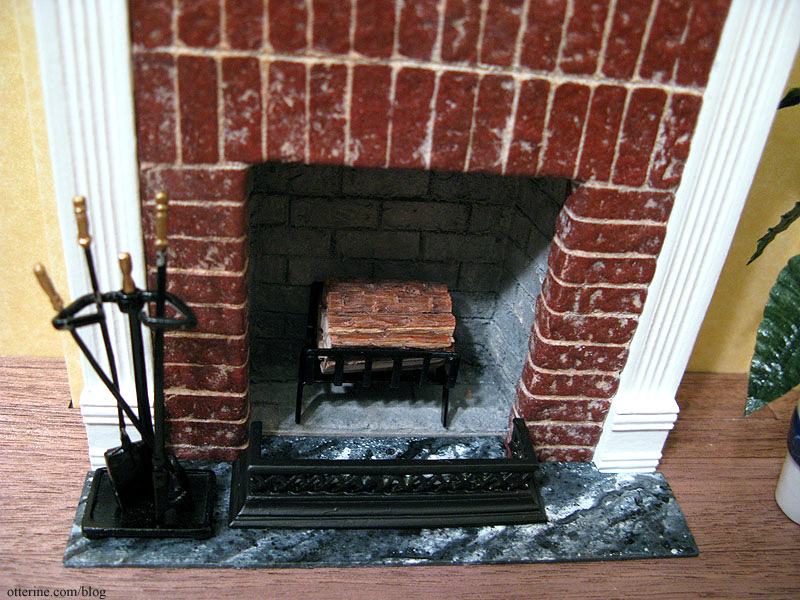
To finish off the fireplace, I made a marble-look hearth out of a piece of cardboard. I used the technique shown in the DVD by Master Miniaturists called Faux Finishes.
The cut cardboard before....
And, after....
click image to enlarge
The fireplace fence is by Town Square Miniatures and was originally brass that I painted with acrylic paint to make it look like wrought iron.
click image to enlarge
Study progress
Since the flooring I cut for the study had a few minor gaps around the edges and some piecing by the fireplace, I brushed on a little brown paint so the subfloor wouldn't be so obvious.

I drilled holes in the chimney breast for the sconces and then glued the assembly to the wall. I used Yes! paste to attach the wallpaper (scrapbook paper by The Paper Company called Parchment Tan). There are three separate pieces. The first one I glued in place was on the angled wall with the window. I cut it with roughly 1/4" edges on either side to go under the other two pieces to prevent gaps along the seams.
Note: I no longer recommend Yes paste - I use Wallpaper Mucilage instead. Yes paste has problems with longevity.
click image to enlarge
Once the wallpaper was done, I ran the wires for the sconces through the chimney breast. I plan to pull the wires up through the ceiling and run them along the floor of the second story to the power strip.

I think I am getting the hang of electrification! :D
Close-up of the lights...
Study flooring and wallpaper
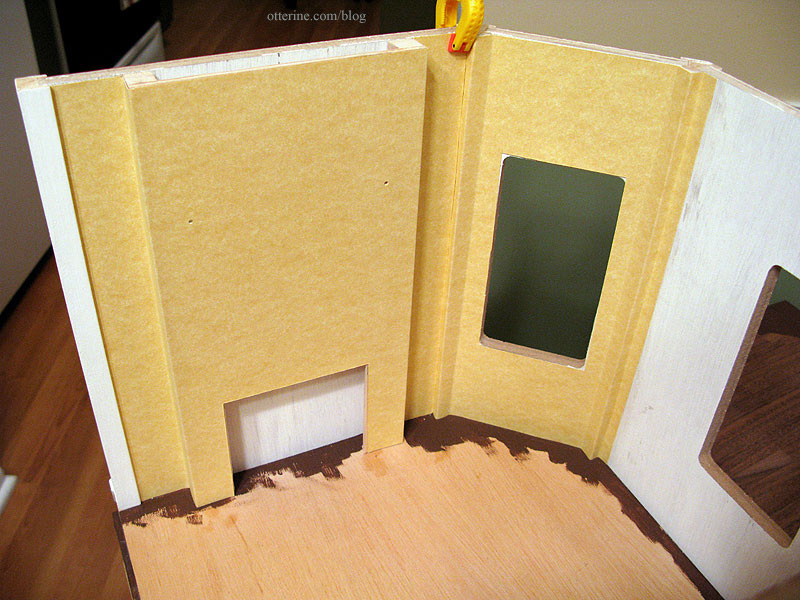
The first step of installing the flooring was to make a template of the room. I cut a rough outline and then taped bits of paper to cover any open areas. This method makes up for any warping there may be along the edges of the room.
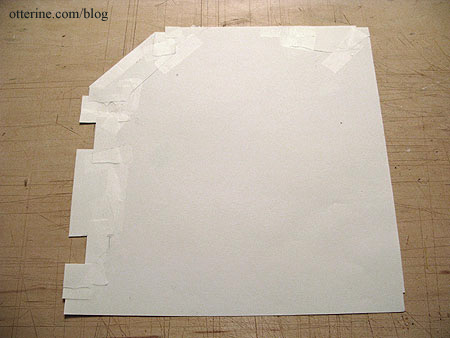
I used dark wood flooring by Handley House; it comes on a paper backing so you can cut a single piece of flooring using a template instead of laying the wood down strip by strip. I did have to piece the wood a bit by the fireplace wall since the sheet was not wide enough to cover the entire width of the room.
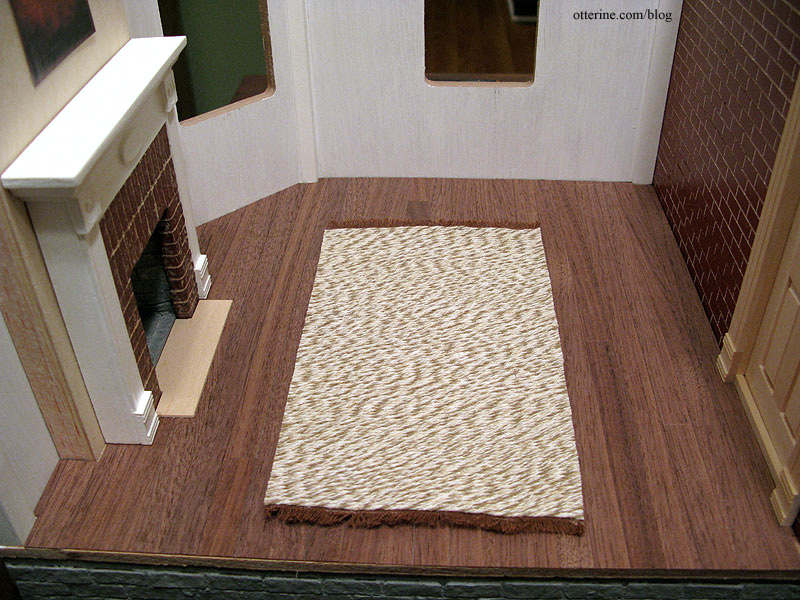
The flooring isn't permanently affixed yet. There are a few gaps from the wall, but I think it turned out well for my first attempt at wood flooring. I plan to paint the edges where the base floor will show to make the gaps less obvious, and there will be a baseboard around the perimeter as well.
click image to enlarge
The wallpaper is scrapbook paper by The Paper Company appropriately called Parchment Tan; it is also not permanently affixed yet. The furniture is by Bespaq, bought on eBay; the plant came from Hobby Builders Supply. I am not sure if these pieces will stay here since I bought them for a different room, but they are closer to what I have in mind than the red velvet ones I had been using during the planning phase. I made the rug and fireplace.

click image to enlarge